Building a log cabin is more than just a construction project; it’s an adventure that allows you to connect with nature and create a cozy retreat tailored to your preferences. If you're wondering how to make a small log cabin, understanding the right materials, techniques, and a bit of determination is key to embarking on this fulfilling journey.
This guide walks you through the essential steps involved in constructing a log cabin, from sourcing quality logs to finishing touches that make the
Why Choose a Log Cabin?
Log cabins have a charm and warmth that modern buildings often lack. They evoke a sense of nostalgia and connection to the outdoors. Here are a few compelling reasons to consider a log cabin for your next construction project:
1. Natural Aesthetics - The rustic look of logs blends seamlessly into natural landscapes, enhancing the beauty of your surroundings.
2. Energy Efficiency - Wood is a natural insulator, helping to maintain comfortable temperatures year-round.
3. Sustainability - Using locally sourced logs reduces transportation costs and environmental impact.
4. Customizable - Each log cabin can be uniquely designed to reflect your personal style and needs.
Learn How to Make a Small Log Cabin in 7 Easy Steps
1. Selecting Quality Logs

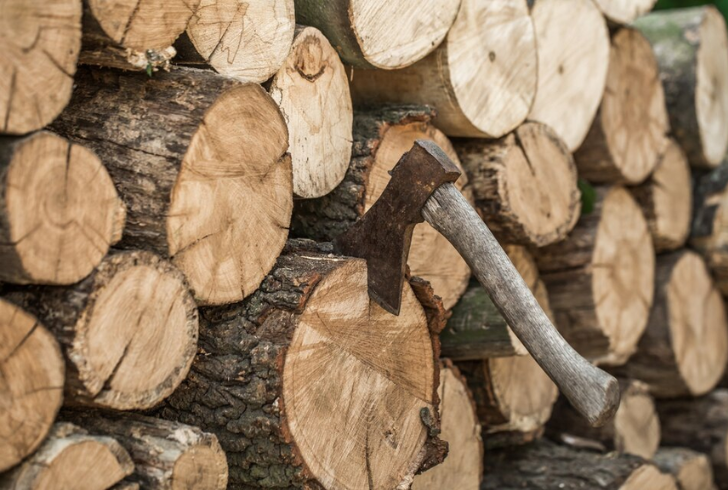
Freepik | pvproductions | Choose straight logs to simplify assembly and reduce gaps that could impact insulation.
The first step in building a log cabin is sourcing high-quality logs that meet specific criteria. It's advisable to look for logs with a diameter of at least 6 inches (15 cm) to ensure structural integrity. When selecting logs, prioritize straightness to avoid complications during assembly and to minimize gaps that could affect insulation. Consistent diameter is also essential for easier stacking and fitting. Additionally, consider using durable woods like pine or cedar, which are known for their resistance to decay and pests.
2. Preparing the Logs
Once you have sourced your logs, the next step is to prepare them for construction, which includes cutting, transporting, and debarking. Start by using a chainsaw to cut the logs to the desired lengths. If you’re unsure about your cutting skills, practice on a few less critical logs before working on the main ones. After cutting, carefully remove the bark, as keeping the logs clean of bark is essential to prevent pest infestations.
Tools like a drawknife can assist in debarking tougher logs. Transportation can be challenging, especially in hard-to-reach areas, so having a reliable vehicle or a small trailer is beneficial. Be ready to clear any brambles or obstacles that may hinder access to the building site.
3. Foundation and Base Construction
Establishing a solid foundation is crucial for the stability and longevity of your log cabin. Start by digging trenches about 12 inches deep for the foundation and filling these trenches with a mix of gravel and concrete to create a sturdy base. This provides support and helps prevent moisture from seeping into the logs.
Consider constructing a low wall of cinder blocks to elevate the logs off the ground, protecting them from moisture while enhancing airflow. Additionally, lay down a layer of crushed stone on top of the concrete foundation to create a level surface for the logs.
4. Assembling the Logs
With the foundation ready, it's time to begin stacking the logs, marking the beginning of your cabin's shape. Apply mortar on top of the first log before laying the next one to fill gaps and improve insulation. Start with the thickest and heaviest logs at the bottom, using lighter logs for the upper layers. Ensure each log is level and properly aligned by using a level tool to check that the logs remain straight as you progress.
5. Creating Openings for Doors and Windows
Before advancing too far, it's essential to plan for openings for doors and windows. Clearly mark the desired locations on the logs before making any cuts. To provide additional support above the door and window openings, use cut sections of logs as headers to help distribute weight.
When crafting the door, select wood that is both durable and visually appealing, such as chestnut or oak. Ensure the door fits snugly within the frame while still being able to swing open without obstruction.
6. Roof Construction
A well-constructed roof is vital for protecting your cabin from the elements. First, decide on a roof style that complements your cabin's design; a gable roof is a popular choice due to its simplicity and effective rain runoff. Install support beams across the top of the cabin to provide the necessary structure for your roof. Consider adding insulation between the roof and the interior space to maintain a comfortable temperature, and cover the roof with shingles or metal sheeting, ensuring that your choice matches the overall aesthetic of your cabin.
7. Finishing Touches

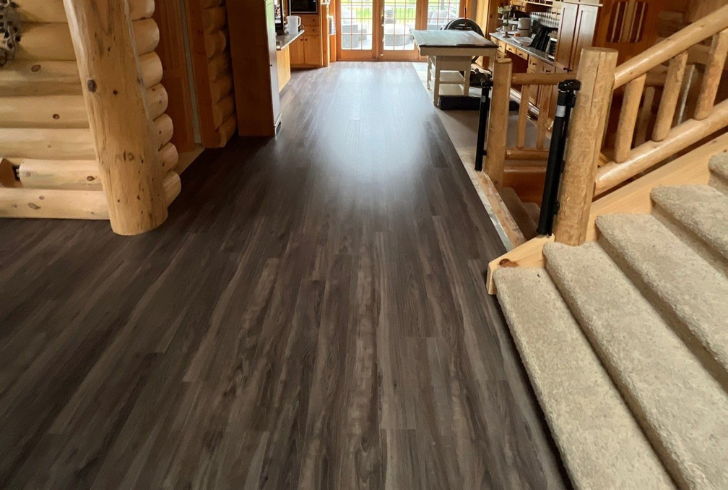
Instagram | justputitinflooring | For the interior, opt for durable flooring wood provides warmth, while tile adds a modern touch.
With the major construction completed, focus on the finishing touches that transform your cabin into a home. For the interior design, choose durable and attractive flooring materials; wood flooring adds warmth, while tile can offer a modern touch. Depending on your style preference, you can leave the logs exposed for a rustic feel or cover them with drywall for a cleaner finish.
To enhance the exterior, consider adding a porch, which not only adds charm but also provides a welcoming entrance. Lastly, integrate natural landscaping around your cabin to seamlessly blend it into the surrounding environment.
Maintenance Tips for Long-Term Durability
Once built, a log cabin requires regular care to withstand the elements over the years. These maintenance practices will ensure that your cabin remains a cherished retreat for generations.
1. Annual Inspections - Check the roof, foundation, and logs yearly for signs of wear, especially after winter.
2. Stain or Seal the Wood - Reapply stain or sealant to the wood to preserve its natural beauty and protect it from moisture.
3. Clear Vegetation Around the Cabin - Maintain a clear perimeter around the cabin to reduce the risk of pests and water buildup around the foundation.
Building a log cabin is a hands-on, immersive experience that rewards those willing to put in the effort with a rustic, timeless retreat. With each log carefully selected and placed, you create a haven that stands as a testament to your hard work, craftsmanship, and connection to the land. By following these steps and customizing them to your vision, you’ll end up with a space that not only meets practical needs but also brings a sense of joy, peace, and accomplishment. Happy building!

