A lot of us love to see our kids looking sharp wearing that bow tie for their first day of school, or a birthday, or any event, really. Parents can’t get enough of how cute their kids look in a bow tie; some would love to have all the different colors and patterns there are.
Fortunately for us all, you’ll never run out of bow tie pattern ideas when you can make them for yourself, especially when you need a matching set for a bunch of kids. They are relatively easy to make, and the choice of material to use, the color and, pattern is entirely up to you.
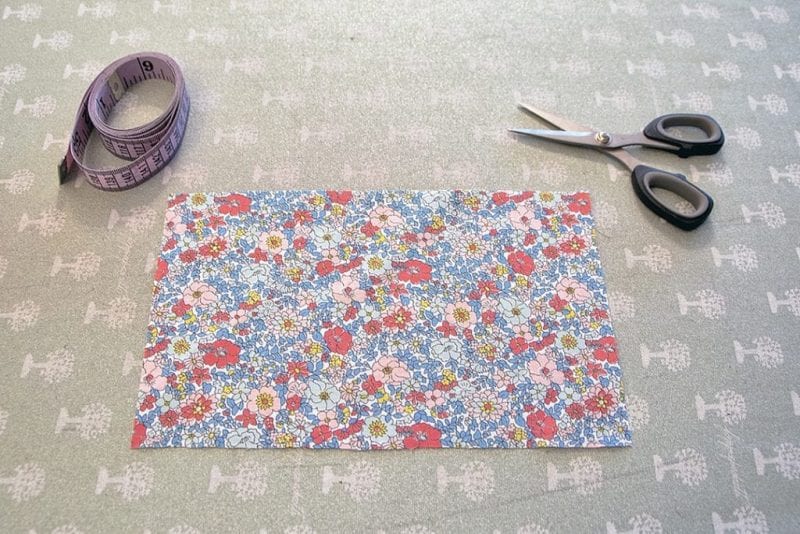
You need some basic things to get this started, including your fabric material, a measuring tape or ruler, a Bobby pin, and you also need an iron.

Hanahaki |Cut the cloth in a rectangular shape
When starting, cut out the material according to the size of the bow tie you want, consider the length and how wide you want it to be. You surely do not want it covering up your kid’s entire neck—that would be awkward. The cloth should be cut out in a rectangular shape, where the width is more than the length.
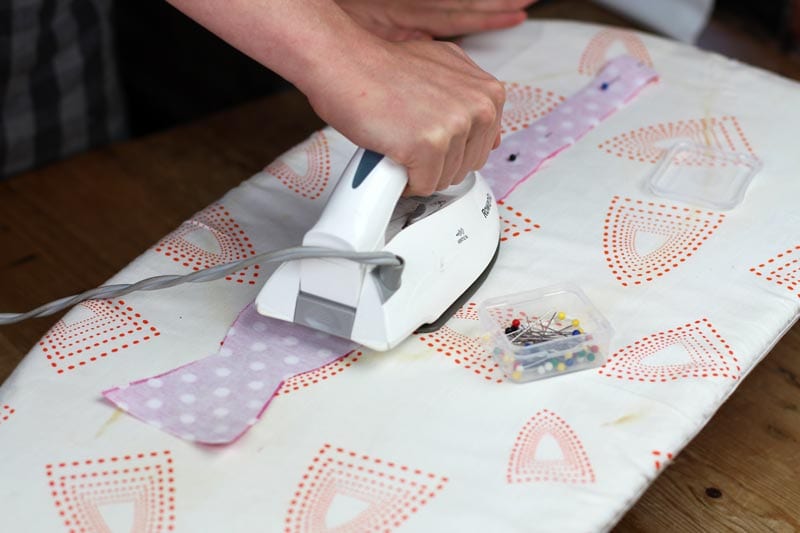
Fold the edges of your material together and straighten them out. It needs to remain folded, and that's precisely where ironing comes in to ensure it assumes the folded shape permanently.

Tie-a-tie | Making a bow at home is a straightforward process
Now cut a little piece of the original fabric into a narrow piece of cloth about the same length and width; you’re going to need that to hold the center of the bow tie. It’s important to also iron this piece to keep it flattened out and straight. Alright, it’s going great so far, keep in mind that it helps to use precise measurements, so the bow tie doesn’t have a weird appearance, like looking long on one side and short on the other, or it becomes too big for the person using it. That is why you have a ruler or measuring tape.
Fold over the ironed fabric and apply glue to the two sides—oh yes, you’re going to need glue too, but just a little so it doesn’t become hard to fold.

Tie-a-tie | It’s important to iron this piece to keep it flattened out and straight
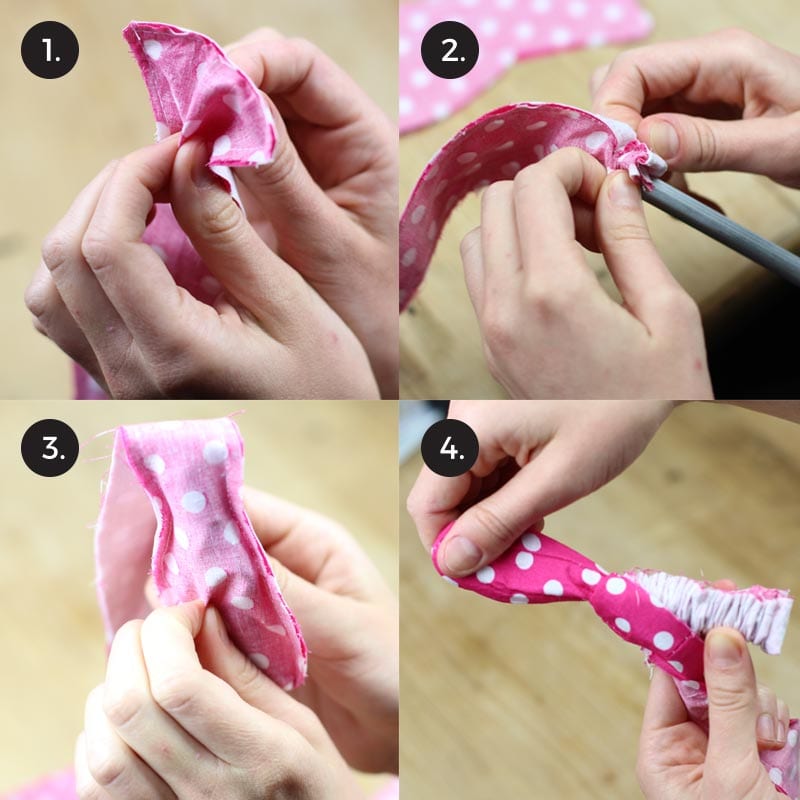
Start folding the material inwards to take the bow tie shape, gathering the folds together at the center and straightening out the edges on both sides. You should know how a bow tie should look; now, use that would be the mental image that guides you.
Take the small strip you cut earlier for the center and wrap it around the center of the bow tie and glue it to the back. By now, you can tell the back from the front, and you can also glue the folded part in the center before wrapping the small strip around to ensure it stays in that shape.
Finally, use the pin to clip it together, and voila, your bow tie is all ready for use. Please take all the pictures you want and keep them forever, because you won’t always have little kids to play dress-up with.

