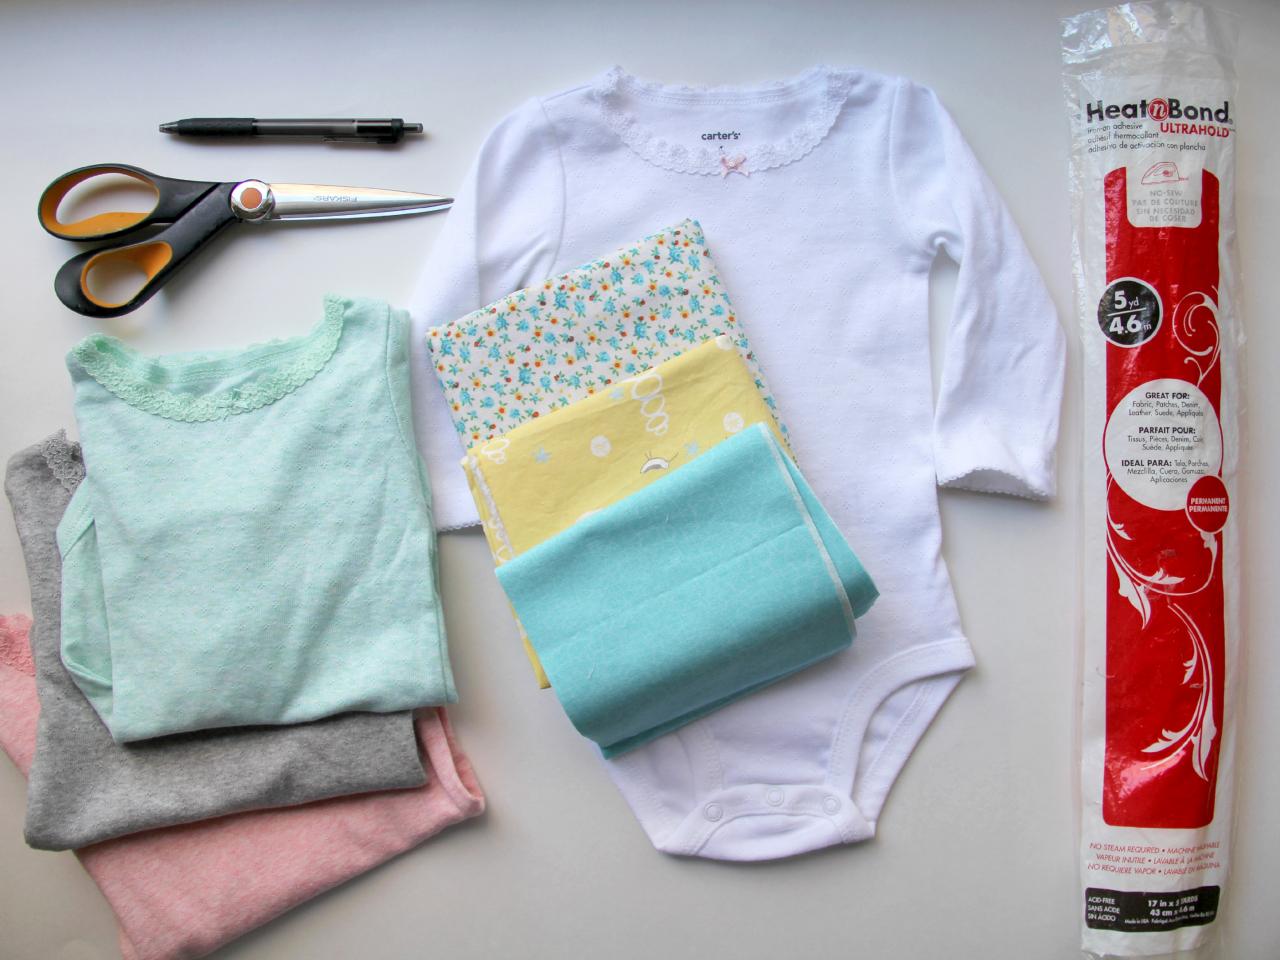
You should totally stop throwing away clothes you’re no longer using. When the thought comes to mind, replace it with all the things you need but don’t have yet, because you can get some using those old clothes. How?

Fast Company | You should totally stop throwing away clothes you’re no longer using
For us science lovers, Emilie Du Chatelet proposed that energy can neither be created nor destroyed; however, it can be converted from one form to another. Of course, you wonder, “what does all the weird science talk mean?” Nothing really important right now, let’s do exactly as it says with our old clothes. In contrast, we can definitely create our clothing items, but instead of discarding or destroying them, we can convert them to something else that could be of use to us.
Imagine being able to convert a shirt to a handbag in straightforward and easy-to-follow steps. The best part of it is, you can absolutely do it yourself without any professional instrument or additional cost.
All you need is scissors and a marker or a highlighter. Shocking? Well, Let’s get to work!

DIY Network | All you need is scissors and a marker, or a highlighter
Take the shirt you’re no longer using and cut the sleeves out. You can fold the shirt and cut the sleeves of both arms at once for uniform measurement, you can also cut one sleeve first and use it as a template to cut the next, or you can use your marker to outline the points to cut. Whichever way, you should have something like a tank top afterward, but hey, tank tops are not the goal here, let’s focus!
Next, it’s important to know how deep you need the bag to be. First, use a round bowl or anything similar you have to trace an outline at the neck of the shirt and cut it into a round or oval shape. From the neck, measure all the way down to the point you want as the bottom of the bag and mark that spot.
It helps to use the largest thing you would want the bag to carry as a template to determine the bottom. Now that you have the bottom, you can slit or fringe the rest of the shirt that’s just below your chosen base. Please note that you should have turned the shirt inside out before making any of the markings to avoid placing marks on the part of your bag that will be visible.

Trash Is For Tossers | Your final product will be an open tote bag with two handles and a knitted base
Now you can do away with fringing or slitting the base of your bag if you have plans to sew the bottom close. You can sew by hand or use a sewing machine for that neat finish, but the advantage of the fringe is that it needs no extra instrument to complete the bag.
All you need to do is tie the fringes together into knots, say 3 fringes at a time for uniformity. Your final product will be an open tote bag with two handles and a knitted base unless you try to be a hero and do it a different way.

